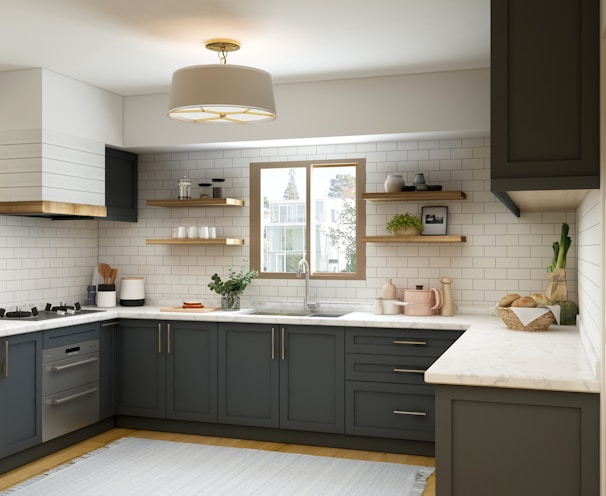
Renovating A Kitchen
Renovating a kitchen is a substantial project, but with careful planning and execution, it can be a highly rewarding endeavor. Here's a step-by-step guide to help you through the process:
Step 1: Planning and Budgeting
Assess Your Needs and Goals:
Determine what you want to achieve with the renovation. Are you looking for more storage, better functionality, or a fresh aesthetic?
Set a Budget:
Decide how much you're willing to spend. Allocate funds for different aspects like cabinets, appliances, countertops, flooring, etc.
Create a Design Plan:
Decide on the layout, style, color scheme, and overall look of the kitchen. Consider factors like traffic flow, storage needs, and aesthetic preferences.
Step 2: Demolition and Prep Work
Clear the Space:
Remove all appliances, cabinets, countertops, and fixtures. Protect other areas of your home from dust and debris.
Demolish Old Fixtures:
Carefully remove old cabinets, countertops, flooring, and backsplash. Be cautious of plumbing and electrical lines.
Address Structural Issues (if any):
This is the time to make any necessary repairs or modifications to the walls, floors, or ceilings.
Step 3: Electrical and Plumbing Work
Update Electrical Wiring:
Install new wiring, outlets, switches, and lighting fixtures according to the updated kitchen design.
Plumbing Modifications:
If needed, relocate plumbing for sinks, dishwashers, and other fixtures based on the new layout.
Step 4: Installation of Key Elements
Install Cabinets:
Start with upper cabinets, securing them to the wall. Then, install base cabinets, ensuring they're level and secure.
Countertop Installation:
Cut and install countertops according to the design. Ensure they're level and secure.
Install Appliances:
Set up and install appliances, including the stove, refrigerator, dishwasher, and any other built-in items.
Add a Backsplash:
Apply the chosen backsplash material (tiles, glass, etc.) using adhesive or mortar.
Step 5: Flooring and Wall Finishing
Install Flooring:
Lay down the chosen flooring material, making sure it's level and well-fitted.
Paint or Wallpaper Walls:
Apply paint or wallpaper according to your design plan.
Step 6: Final Touches and Inspection
Install Fixtures and Hardware:
Add handles, knobs, faucets, and other finishing touches.
Check for Deficiencies:
Thoroughly inspect the kitchen for any remaining issues or necessary touch-ups.
Step 7: Clean-Up and Final Review
Clean and Organize:
Clear away debris and clean all surfaces, appliances, and fixtures.
Final Walk-Through:
Do a final inspection to ensure everything is as it should be.
Step 8: Enjoy Your New Kitchen!
Congratulations! Your kitchen renovation is complete. Take some time to appreciate your hard work and enjoy your beautiful, functional new space.


