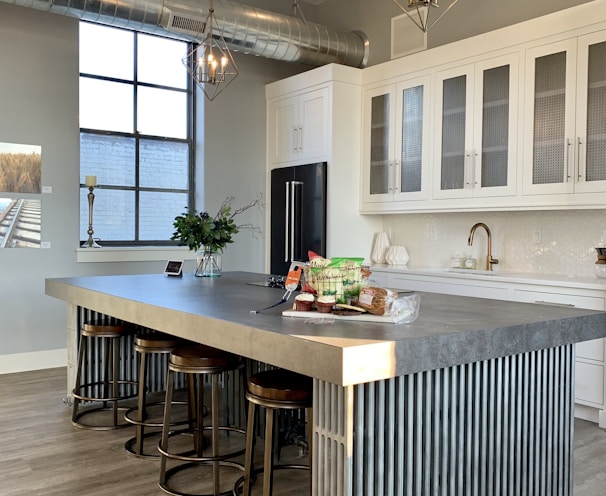
Creating Concrete Countertop
Creating a concrete countertop using paint and resin can be a great way to achieve a professional-looking finish without the weight and expense of traditional concrete. Here are detailed instructions to guide you through the process:
Materials Needed:
Plywood or melamine board (for the countertop mold)
Concrete mix
Concrete additives (optional, for added strength and workability)
Mixing container and stirring sticks
Reinforcement mesh (optional, for added strength)
Concrete sealer
Paint in desired colors (for base coat)
Epoxy resin and hardener
Plastic drop cloth or tarp
Sandpaper (various grits)
Paint brushes and rollers
Mixing cups and disposable gloves
Blowtorch or heat gun (for removing air bubbles)
Instructions:
Create the Mold:
Measure and cut the plywood or melamine board to the desired size and shape of your countertop.
Assemble the mold, ensuring it's sturdy and well-sealed to prevent leaks.
Mix and Pour the Concrete:
Follow the manufacturer's instructions to mix the concrete. Add any optional additives if desired.
Pour the concrete mixture into the mold, making sure it's evenly distributed.
Add Reinforcement (Optional):
Place a reinforcement mesh into the wet concrete to add strength. Press it down gently to ensure it's embedded.
Smooth and Level the Surface:
Use a trowel or float to smooth the surface of the concrete, making it as level as possible.
Cure the Concrete:
Cover the mold with plastic to retain moisture and let it cure for at least 24-48 hours. This helps the concrete harden.
Demold the Countertop:
Carefully remove the mold once the concrete has cured. It should hold its shape.
Prepare the Surface for Painting:
Sand the surface of the concrete to create a slightly rough texture. This will help the paint adhere better.
Apply the Base Coat of Paint:
Apply a base coat of paint in the desired color. Use a brush or roller to ensure even coverage. Let it dry completely.
Create a Faux Finish (Optional):
Use paintbrushes, sponges, or other tools to create a faux stone or texture effect on the countertop. Let it dry.
Mix and Apply the Resin:
In a well-ventilated area, mix the epoxy resin and hardener according to the manufacturer's instructions.
Pour the resin mixture evenly over the countertop surface. Use a spreader or brush to distribute it.
Spread the Resin:
Use a brush or spreader to ensure the resin covers the entire surface, including edges.
Remove Air Bubbles:
Use a blowtorch or heat gun to carefully pass over the surface to remove any air bubbles. Do this lightly and quickly.
Let the Resin Cure:
Allow the resin to cure according to the manufacturer's instructions. This usually takes 24-72 hours.
Sand and Seal (Optional):
If desired, sand the surface lightly between coats for a smoother finish. Apply additional coats of resin if necessary.
Seal the countertop with a concrete sealer for added protection and shine.
Remember to follow all safety precautions when working with concrete, paint, and resin.